In the ever-evolving domain of Building Information Modelling (BIM), transforming LiDAR point clouds into LOD 300 Revit models represents a vital part of achieving spatial accuracy and operational efficiency. This complex process, known as Scan-to-BIM, bridges the gap between raw data and practical architectural models, making it indispensable for professionals in the construction and real estate industries. Adyantrix, renowned for its expertise in advanced BIM methodologies, leads the charge in streamlining these workflows, offering high precision and reliability.
Understanding LiDAR Technology
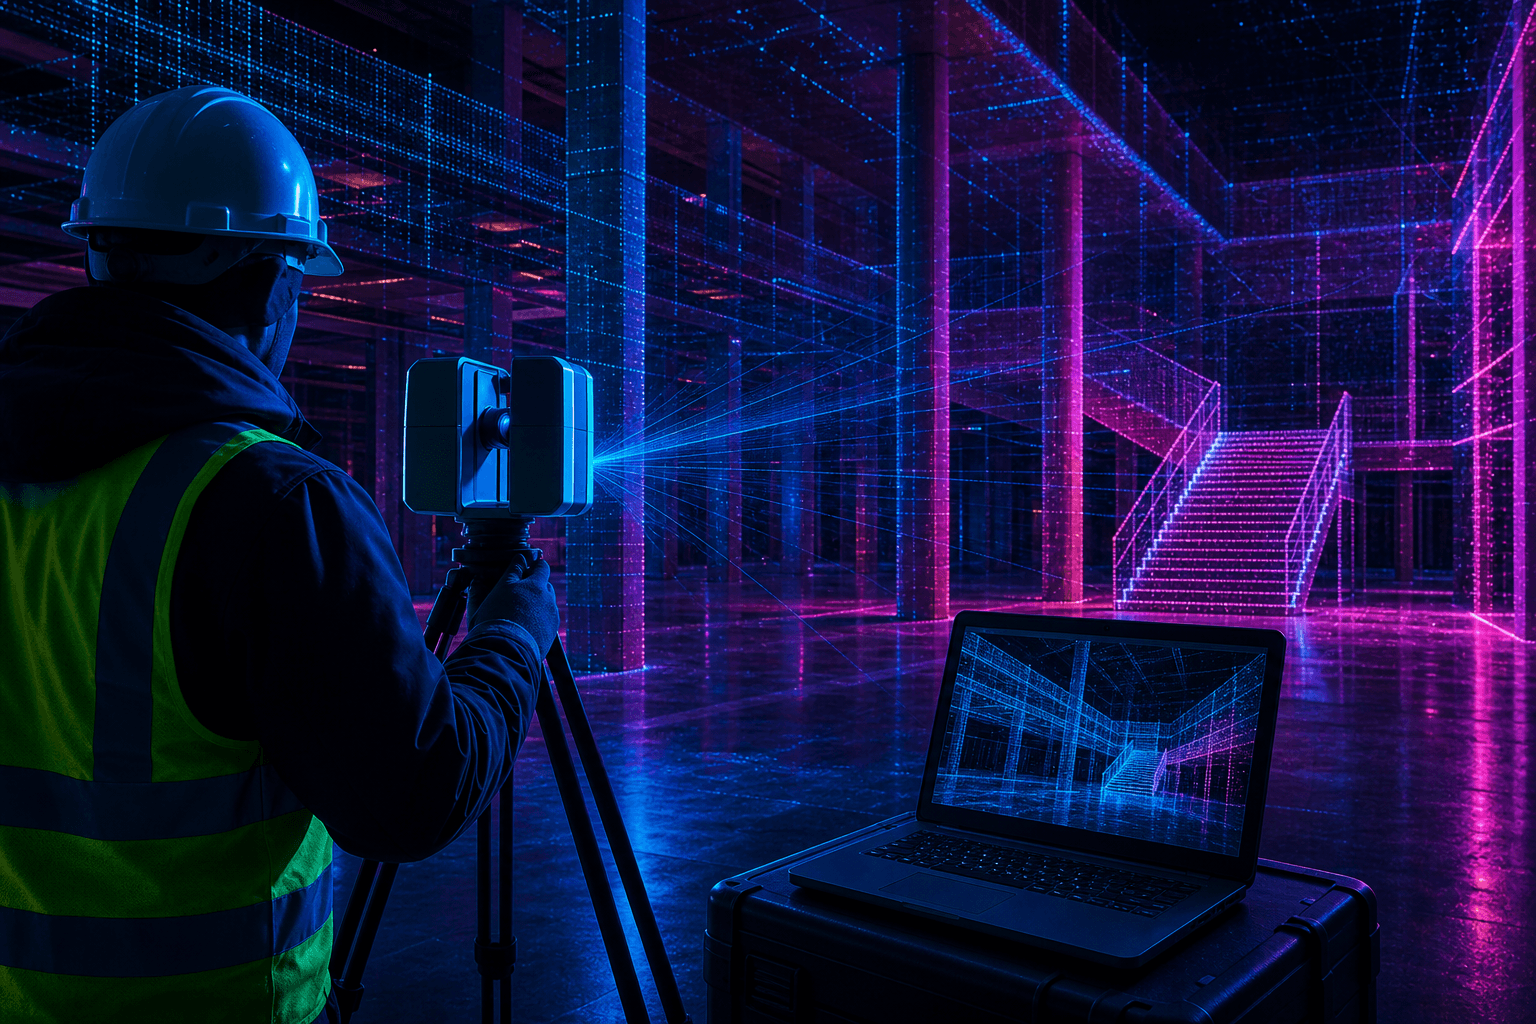
LiDAR, which stands for Light Detection and Ranging, is a remote sensing method that uses light in the form of a pulsed laser to measure variable distances to the Earth. These light pulses—combined with other data recorded by the airborne system—generate precise, three-dimensional information about the shape of the Earth and its surface characteristics. In the context of architecture and construction, LiDAR is pivotal as it captures the nuances of an existing space accurately and swiftly.
The enormous datasets generated by LiDAR, known as point clouds, contain millions of measurement points that contribute to creating detailed 3D models of existing structures. According to data published by MarketsandMarkets, the LiDAR market size is projected to grow from USD 1.1 billion in 2020 to USD 2.8 billion by 2025, reflecting its increasing adoption in diverse applications, including BIM.
Beyond raw distance measurement, modern LiDAR systems—whether terrestrial laser scanners, mobile mapping units, or drone-mounted sensors—record intensity and, in many cases, RGB colour values for every captured point. This additional information helps technicians distinguish between materials, identify surface boundaries, and classify elements more reliably during later processing stages. Terrestrial scanners remain the preferred choice for interior scan-to-BIM work because of their high point density and accuracy, often within a few millimetres, while mobile and aerial LiDAR platforms are better suited to large infrastructure corridors, campuses, and site topography surveys where speed of coverage matters more than millimetre-level precision. Choosing the right capture method, and the right scan register overlap, has a direct downstream effect on how clean the resulting Revit model will be, which is why experienced teams plan their scan sequence and station placement before ever stepping on site. For teams looking to understand how captured data actually becomes usable geometry, our earlier discussion on point cloud processing and Revit modelling walks through the intermediate processing stage in more depth.
From Point Clouds to LOD 300 Revit Models
The transformation from point clouds to LOD 300 Revit models involves several critical steps. LOD, or Level of Development, defines the reliability of a model and its detail. LOD 300 is sufficiently detailed to depict how an element will be constructed, providing graphic and non-graphic information. This stage of detail is particularly useful for construction coordination, clash detection, and more.
It is worth distinguishing LOD 300 from the levels that surround it, since the terminology is often used loosely across the industry. LOD 200 typically communicates approximate quantities, size, shape, and location as generalised systems, while LOD 300 introduces precise geometry, accurate dimensions, and defined orientation for each modelled element. LOD 400 goes a step further, adding fabrication-level detail such as connections and assembly information used for shop drawings. Selecting the correct LOD for a given deliverable is a contractual as well as a technical decision: over-modelling wastes budget and time, while under-modelling leaves gaps that surface later as costly change orders. Adyantrix works with clients early in a project to define the LOD matrix element by element, mapping which building systems—structural framing, MEP routing, envelope assemblies—need LOD 300 or higher and which can remain at a lower level of development without compromising downstream coordination.
Step-by-Step Conversion Workflow
-
Data Acquisition: Capture the site's features using LiDAR technology, obtaining comprehensive raw point cloud data. Scan planning matters here—technicians map out station positions to guarantee sufficient overlap between individual scans, typically 30 to 40 percent, so that registration software can align them accurately without gaps in coverage.
-
Data Processing and Cleaning: Import the point cloud data into data processing software to remove noise and erroneous points. This step also involves registering multiple individual scans into a single unified coordinate system, using either targets placed on site or cloud-to-cloud alignment algorithms, and decimating the dataset where density exceeds what is needed for the target LOD.
-
Segmentation and Classification: Categorise the point cloud into different elements such as walls, columns, windows, and other structural components. Increasingly, this stage is assisted by machine-learning classification tools that pre-sort points by likely element type, though experienced modellers still review and correct automated classifications before proceeding.
-
Revit Integration: Convert these segments into Revit-compatible formats and import them into Revit software, typically as a linked RCP or RCS file referenced against a shared project coordinate system so the point cloud and the emerging model stay perfectly aligned.
-
Modeling: Using Revit, construct LOD 300 models that accurately replicate the segmented data, applying appropriate family types, parametric behaviour, and material assignments so the model is usable for scheduling and coordination, not just visualisation.
-
Quality Assurance: Validate the model against the original point cloud to ensure accuracy, running deviation analysis to flag any element that falls outside agreed tolerance bands—commonly plus or minus 5 to 15 millimetres for LOD 300 work—before the model is issued to the design team.
# Sample Revit Code Snippet
import revit

elements = revit.Elements()
for e in elements:
    if e.is_visible:
        e.create_family_instance(revit.Family('NewFamily'))
Adyantrix implements this systematic approach to ensure that every model is robust, scalable, and aligns perfectly with the client’s requirements.
Advantages of Using Scan-to-BIM in Construction
Adopting the Scan-to-BIM workflow presents numerous benefits for construction projects, streamlining processes, enhancing accuracy, and facilitating effective project management. Here’s a comparison table for a clearer perspective:
| Aspect | Traditional Methods | Scan-to-BIM Approaches |
|---|---|---|
| Accuracy | Moderate | High |
| Speed | Slow | Fast |
| Cost | Variable | Cost-effective long-term |
| Detailing | Basic | Detailed (LOD 300) |
| Flexibility | Low | High |
These advantages signify why leading architectural firms and construction specialists prefer integrating Scan-to-BIM processes into their workflows.
Industry Impact and Recent Developments
The implementation of Scan-to-BIM technologies is not just a passing trend but a transformative industry shift. As of 2023, the construction sector is witnessing a rapid evolution with the adoption of more sophisticated and integrated workflows. According to a report by the National Institute of Building Sciences, firms that integrate BIM into their processes report a 25% increase in project efficiencies and a significant reduction in project timelines.
Adyantrix has been pivotal in powering this transformation, offering consulting services that help organisations adapt to this innovative methodology, thereby enhancing their competitiveness and operational effectiveness. Renovation and retrofit work, in particular, has become a major driver of scan-to-BIM adoption, since existing buildings rarely have accurate as-built drawings and owners need a reliable digital baseline before any redesign work can begin. Facility managers are also increasingly commissioning scan-to-BIM models independent of any construction project, simply to build an accurate digital twin of a campus or portfolio that can feed into computerised maintenance management systems and space-planning tools.
Common Challenges in Scan-to-BIM Conversion
Despite its clear advantages, the scan-to-BIM process is not without difficulty, and understanding these challenges helps project teams set realistic expectations. Occlusion is one of the most persistent issues: furniture, stored materials, mechanical equipment, and even other trades working on site can block the scanner's line of sight, leaving gaps in the point cloud that modellers must infer or flag for a follow-up scan. Reflective and transparent surfaces such as glazing, polished metal, and mirrors scatter the laser signal unpredictably, which is why experienced scan technicians often apply matte spray or masking tape to problem surfaces during capture, or plan supplementary photogrammetry passes to fill in the gaps. For teams weighing which capture technology, or combination of technologies, best fits a given project, our companion post on reality capture and point cloud integration with Revit explores how photogrammetry and LiDAR can be combined for more complete coverage.
Data volume is another practical constraint. A single floor scanned at high density can generate tens of millions of points, and a multi-building campus survey can reach billions—file sizes that strain hardware, slow down registration software, and complicate collaboration across distributed teams. Effective decimation strategies, cloud-based processing, and clear file-management protocols are essential to keep projects moving without sacrificing the accuracy that justified the scan in the first place. Finally, aligning stakeholder expectations around LOD is a recurring challenge: clients unfamiliar with BIM terminology sometimes assume a scan automatically produces a fully detailed model, so setting the LOD target and QA tolerances in the contract before scanning begins prevents costly rework and disputes later in the project.
Frequently Asked Questions
Conclusion
Converting LiDAR point clouds into LOD 300 Revit models is a sophisticated process that requires expert knowledge and precision technology. At Adyantrix, we provide comprehensive Scan-to-BIM services that cater to the diverse needs of our clients in the construction and architectural industries. By adopting these advanced methodologies, we ensure our clients attain enhanced project efficiencies and superior quality models. For more information on how we can assist you, visit our Scan-to-BIM service page.